Create a Branch and Pull Request
Git allows multiple features to be developed simultaneously across multiple branches. This guide covers creating a branch, staging and committing changes, pushing to GitHub, and opening a pull request.
This loosely follows GitHub Flow. See Branching Strategy for more context.
Procedure
-
Check available branches and your current branch:
bash — ~$ git branch * main
-
Create and switch to a new branch:
bash — ~$ git checkout -b feature/my-feature Switched to a new branch 'feature/my-feature'
tipPer the Style Guide, avoid developing directly on
main. Create a feature branch with a descriptive name. -
Make edits in VS Code or the Ignition Designer.
-
Check what changed:
git status -
Stage files for commit:
# Single filegit add file-name.ext# All changed filesgit add .noteThis adds files to the staging area but does not commit yet. You can run
git addmultiple times before committing.Which files should I add?Commit one feature or sub-feature at a time. If
git statusshows changes you didn't intentionally make (common with Ignitionresource.jsonfiles), stash or skip them.Commit resource.json with its content fileIgnition stores each resource as a pair:
resource.json(metadata) and a content file (view.json,.py, etc.). Always commit them together - staging one without the other puts the resource in an inconsistent state that can break the Designer or prevent the project from loading.Also avoid committing
session-props/props.json- it stores per-session UI state and changes constantly without representing meaningful work. -
Commit with a message:
git commit -m "Brief description of change" -
Verify a clean working tree:
bash — ~$ git status On branch feature/my-feature nothing to commit, working tree clean
-
Push to the remote repository:
git push origin HEADorigin- the name of the remote (set during repo initialization)HEAD- the current branch's latest commit
Forgot the remote name?Run
git remote -vto list all configured remotes.bash — ~$ git remote -v origin https://github.com/your-org/your-repo.git (fetch) origin https://github.com/your-org/your-repo.git (push)
Create a Pull Request
These are different terms for the same thing. GitHub uses "Pull Request"; GitLab uses "Merge Request." Git itself has no concept of either - they're features of the hosting platform.
-
On GitHub, navigate to the main page of your repository.
-
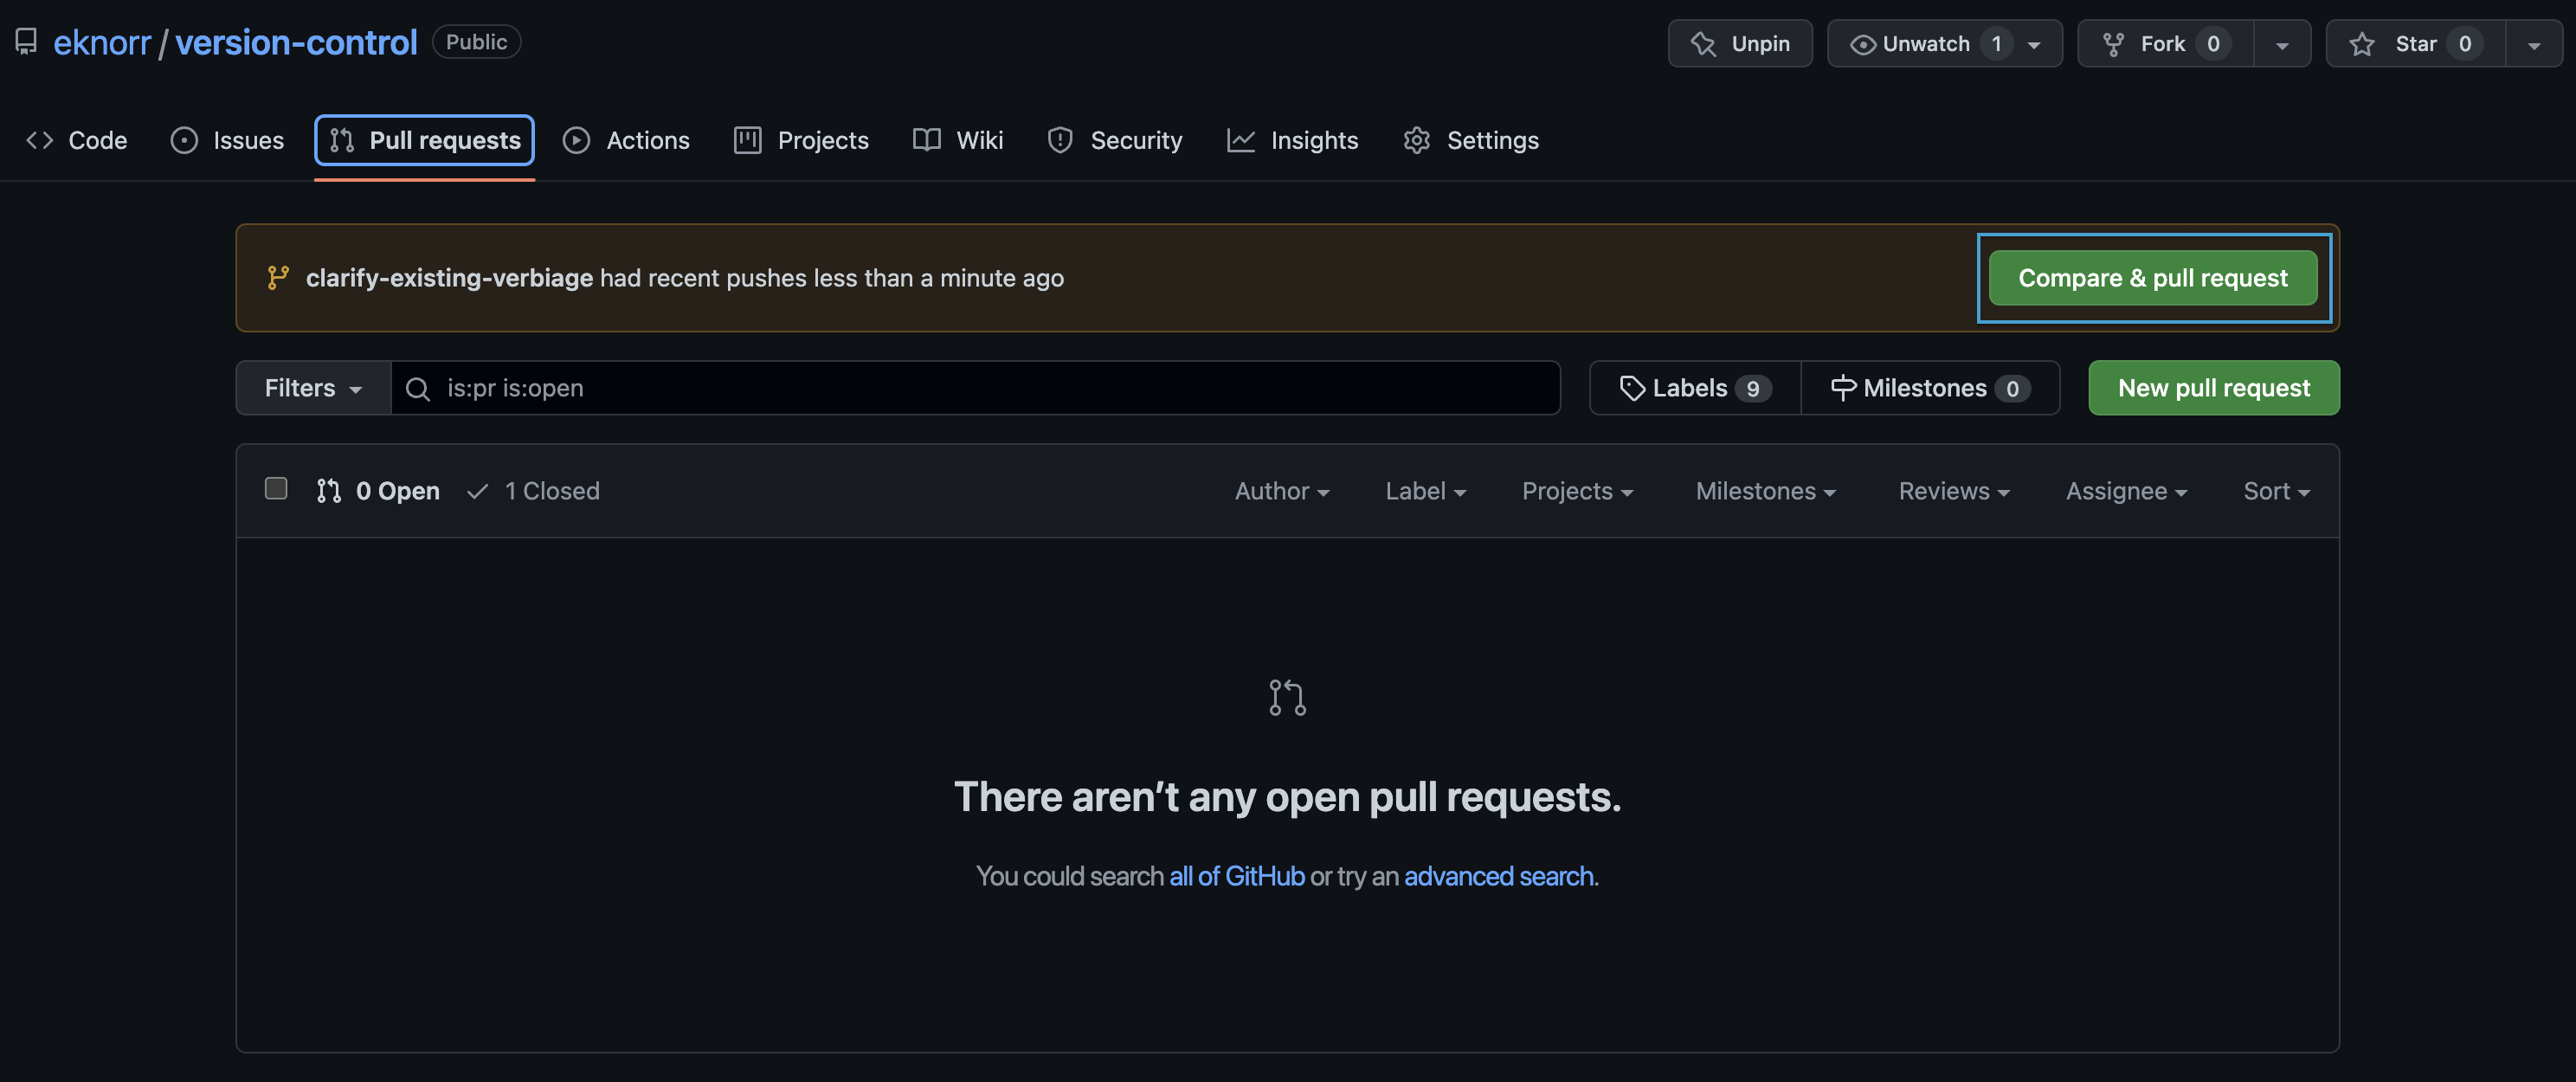
Select the Pull Requests tab.
-
If you recently pushed a branch, GitHub may show a banner prompting you to create a PR. Click it.
-
Otherwise, select New pull request, choose your branch, and confirm the direction (feature branch →
main).
-
-
Fill in the PR details:
- Title: Summarize the feature in a few words
- Description: Add context, a bullet list of changes, or testing notes if helpful
-
Select Create Pull Request.
Once created, the code needs to be reviewed before merging. On solo projects, you can review and merge yourself - but the habit of going through a PR is good practice even when working alone.